4 Favorite Reasons Why Window Privacy Film is a Must Have
It was hard to narrow it down to 4, so we are giving you our 5, yes FIVE favorite reasons WHY YOU SHOULD BUY WINDOW PRIVACY FILM! Let’s jump right in with the visually dazzling entertainment portion of our presentation and address reason #1 to buy window privacy film:
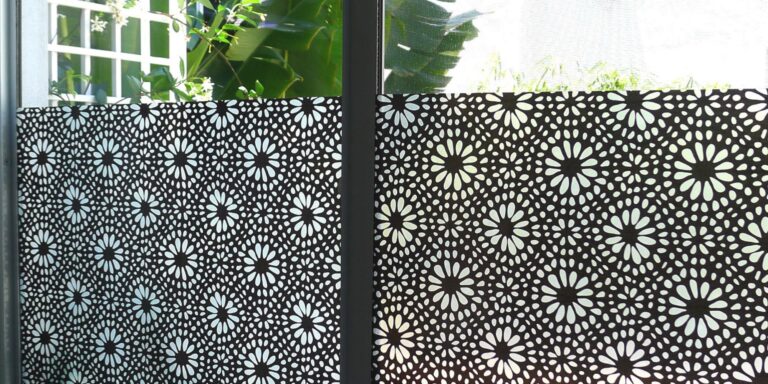
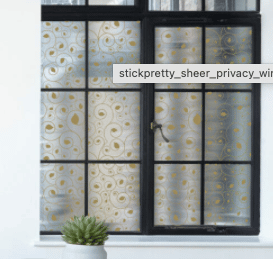
PRETTY PRETTY PRINTS
Look at these prints! They’re pretty and exciting and they will protect your windows from sun and outside peepers. Window privacy film is no different from wallpaper or carpeting or a countertop–it’s a decorative surface that can be changed with trends or your whims and there are loads of options out there. Whichever print you choose should complement your decor and reflect your personal style. It should be as bold or as subtle as you need it to be and it should always, always, make you happy when you see it.
What’s on the Market:
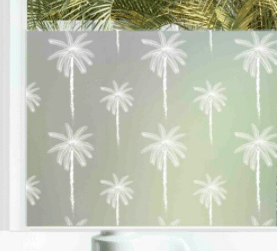
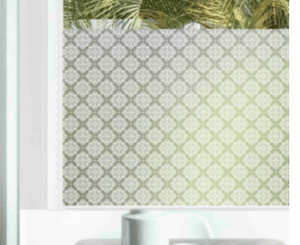
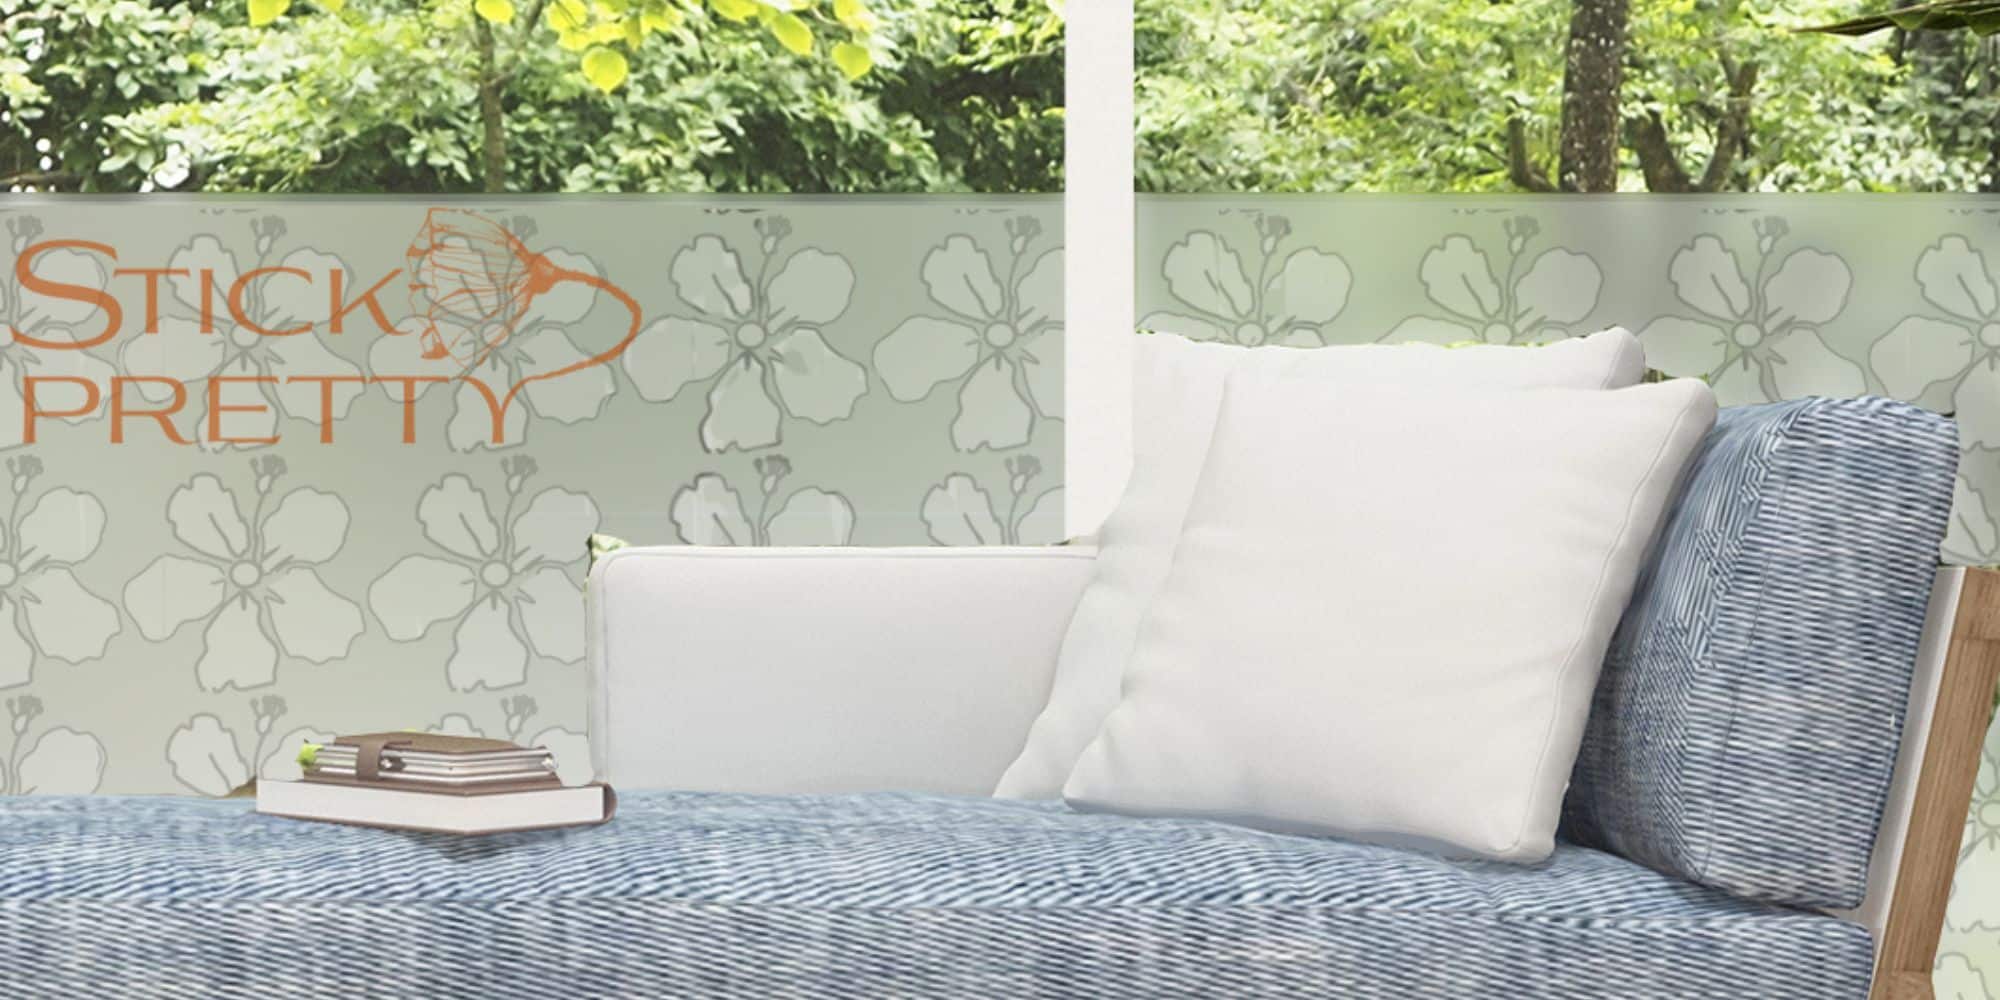
We are partial to floral prints for the home, but there are so very many options. You can also go with geometrics for a clean, contemporary look, or take on mid-century style with it’s nod to nature, organic forms, and exaggerated scale.
We think this one from stickpretty.com is very exciting. It’s called All NMotion and calls to mind the best of contemporary art—movement, abstraction, simplicity and its wildly engaging, demand for attention.
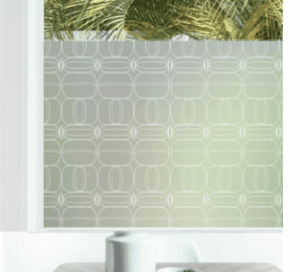
Fantastically Frosted Window Privacy Film
As an alternative to a print adorning your film is the perfectly stylish option of choosing a design-free material. Window films that mimic the beauty and simplicity and PRIVACY of glass are an incredibly popular choice and fill the market. Here’s our favorite:
ALL THE ADVANTAGES OF EXPENSIVE WINDOW COVERINGS WITHOUT THE COST
Having a beautiful home doesn’t have to cost a fortune. There are always ways to spend a bit less on your furnishings and fixtures, but sometimes you lose a lot of function when you go for the more affordable choice. But not! with privacy window film! You will always have security and sun protection with any film you purchase–the same advantages you get with the most expensive silk or wool curtains. And, there’s the bonus of a DIY installation. Yes, that’s right—you can put the window film up yourself, no outside help needed. There’s also the matter of a hardware-free install. No drilling, holes, pull cords or extra pieces necessary for the function of the window privacy film.
24/7 Coverage, No Fuss, No Maintenance
Basically, window privacy film is one of the few instances of having it all! You get your window covered for privacy or sun protection full time and you must do nothing to maintain it or care for it once it’s installed. Think about window shades and blinds that require opening and closing and can break so easily. And then there are heavy curtains that collect dust and require dry cleaning. If you have pets it’s challenging to keep them hair free and looking like new. But window film will keep you
DOZENS OF INSTALLATION OPTIONS
It doesn’t take much to add a bit of privacy. A small piece of well placed window privacy film can give you the privacy you want and, we can’t say this enough, it can also protect furniture and YOU from UVA and UVB rays. Under no circumstances do you have to cover an entire window. You can place the film to cover exactly what you don’t want to look at.
Where and Why Customers Install Privacy Window Film
We’ve had customers in every type of dwelling from Air Streams to high rises tell us they use window privacy film to block an eyesore on a neighbor’s property. We’ve heard other customer’s say that without a piece of film to block their dogs view to the outside of a front door, there would be hours of ‘excitement’ as the dogs bark at all moving elements near the house. And then there are hard to reach windows that the sun has no trouble finding—those have required blocking by many customers. And don’t forget inside windows, bedrooms and living areas often have french doors. While a thru-view sounds nice it doesn’t always make sense.
But mostly it’s bathrooms,, so very, very many bathrooms where window privacy film makes its home.
ECO FRIENDLY MATERIAL
Of all the reasons, perhaps this is the most compelling and unique. There is a film, available from stickpretty.com, emmajeffswindowfilm.com, and modernwindowfilm.com, that is made of PET, polyethylene terephthalate. It is a lightweight polyester material most often used for water bottles and medical devices. It is the most recycled material on the planet. There is also a lot of window film made from plastics that contain poly-vinyl chloride, but using the PET option is smarter and works just as well as the plastic version, not to mention using reams of polyester curtain material or plastic blinds or shades.
A BONUS REASON TO LOVE WINDOW PRIVACY FILM
In case our top 4 brilliant opints as to why you should purchase that window film you may have not even known was such an amazing option, here’s one more that should allay any fears, doubts, or possibilities of you considering any other window covering!
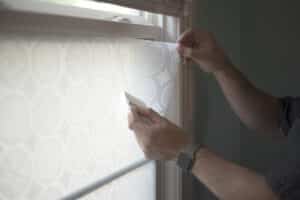
WINDOW PRIVACY FILM IS DIY FABULOUS
It installs so quickly and easily that you’ll kick yourself for not doing it earlier. It cuts like butter and requires nothing more than a bit of water, soap, and a straight edge to apply it with. Here’s how it works:
- Get those windows measured. If you have older windows then cut the film a bit smaller than you think you might need (1/8″ – 1.4″). Older windows can have edges and paint and things that will obstruct a clean install so avoid those rough bits!. If it’s a new window then you’ll be just fine.
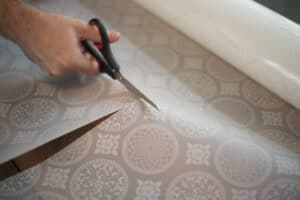
- Measure out your window privacy film and make your cut marks.
- Take out those scissors and experience the beauty of cutting through the luxurious window film that will soon adorn your windows.
- Remove the backing from the film. If it’s a piece larger than 30″ x 30″ then please grab a buddy. Use that 2nd set of hands to spray water on the back of your window film as you remove the backing. This will keep it supple and relax it so it doesn’t crinkle.
- Spray the window! It’s best to have a light coating on both the window and the window film. This allows it to slide easily into place and not stick to the window before you have it perfectly placed.
- When you’re ready to join your film to its new home on your window, the best place to start is from the top left or right corner.
- Once that corner is perfectly aligned then you can begin small and repeated sweeping motions with your hand or a squeegee, applying light pressure in downward movements. As you move downward and over, you want to make sure the general alignment is good and the film is applying to the window with minimal air bubbles.

- Even the best of us will have air bubbles. The key is to apply your pressure to the film slowly and carefully so that any air bubbles can be done away with by gently pulling back the film and pressing it down once again.
 Remember: the film wants to adhere to the window, sometimes the elements of air and water get in the way but they can both be removed!
 - As you reach the bottom, take a look upwards and make sure everything is looking good and you’re ready for those final pushes to secure the film to the window. If you’re seeing just a few tiny air pockets you can handle those with a straight-edge pin and a quick pop!
- Wipe away any excess water and check all edges where the film meets the window to be sure they’re not encumbered by old paint or dirt or anything else on the window that might keep your new film from laying perfectly flat. If you you need to trim away a bit of film so it can avoid a bumpy area, a straight-edge razor or utility knife is all you need.
- NOW YOU WAIT. Just a few days, but you must wait, nonetheless. It takes a bit of time for the adhesive to settle and the new bond to be formed. Don’t be put off by ‘clouds’ that sometimes appear during this process. The hazy patches are just a sign that the film and window are settling into a lifelong companionship.
- What you want to avoid: Don’t ever let any part of the film touch another part of the film during the installation. The sticking of 2 bits can lead to crinkles and messiness, but this can so easily be avoided by keeping the sticky side damp at all times! So revisit step #4 before you begin and make sure you can easily manage the piece of film you see before you—and that means handling, spraying, and laying it on the window with no excess stickage!